|
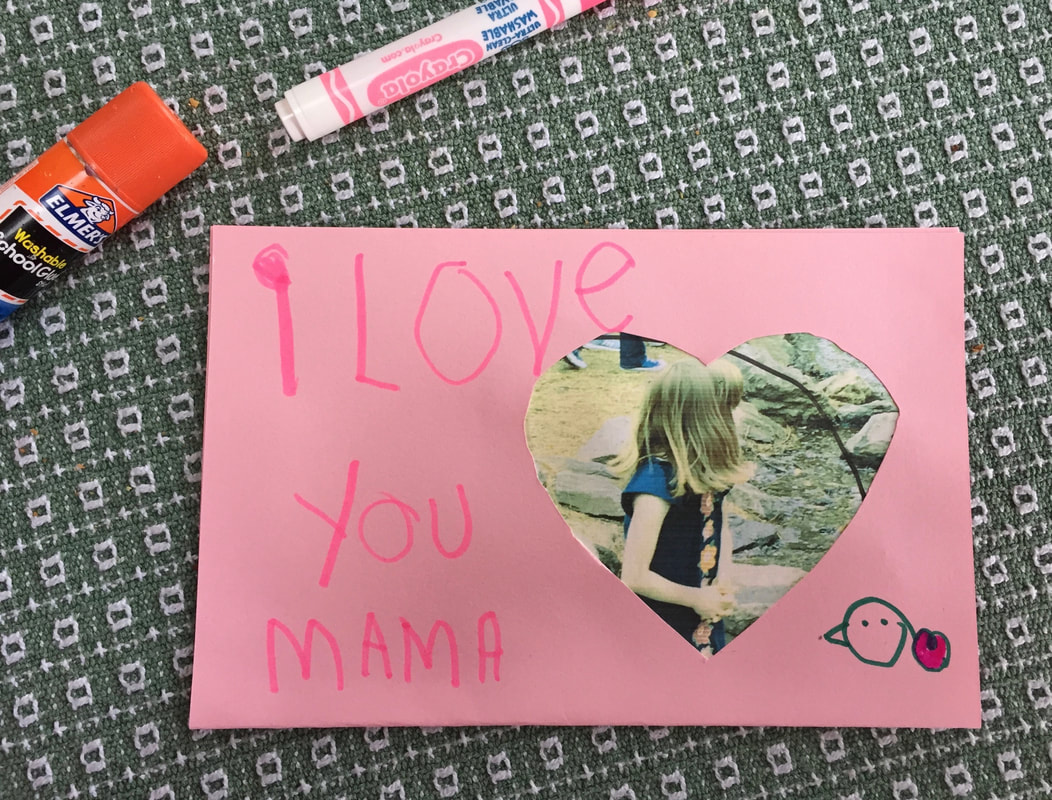
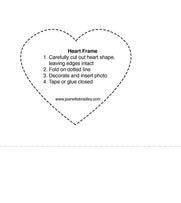
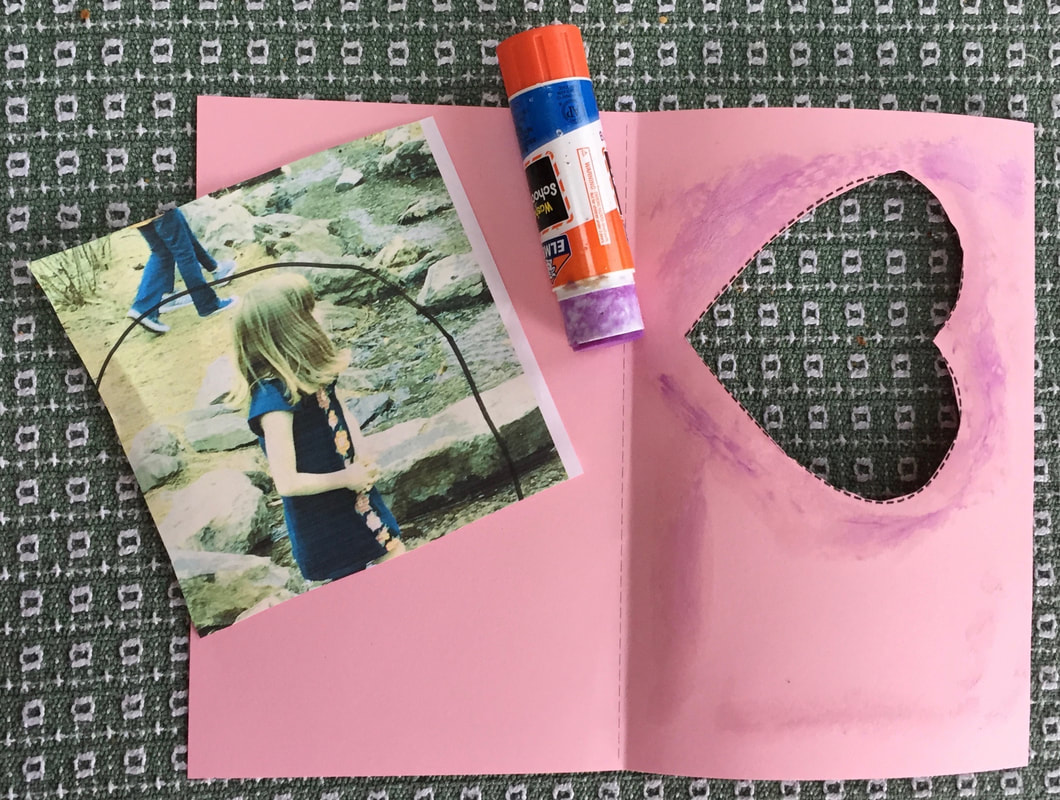
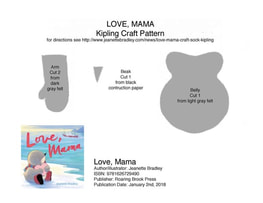
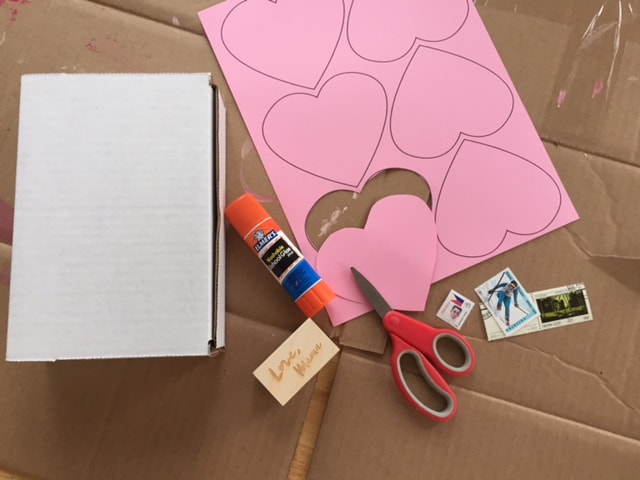
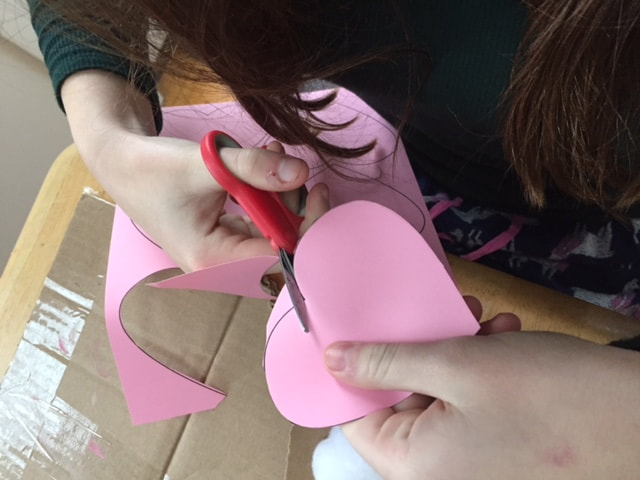
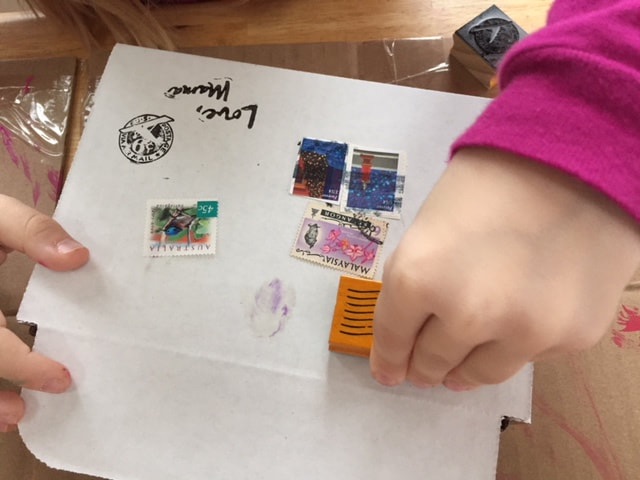
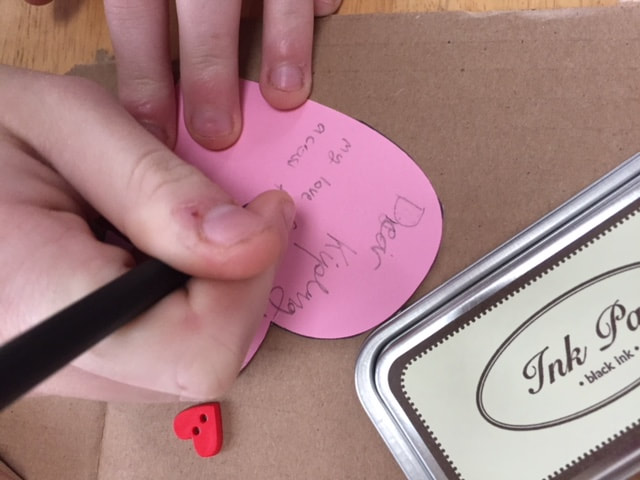
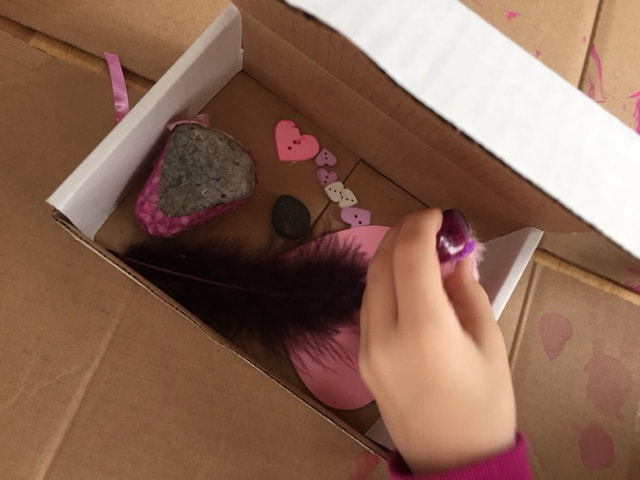
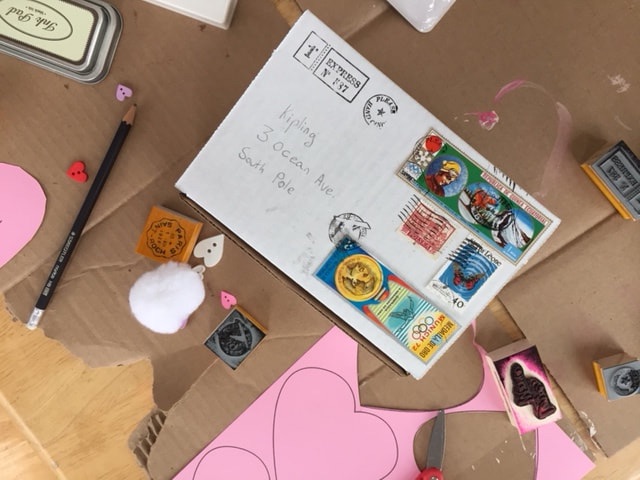
You don't need fancy equipment or a lot of room to get started making and inventing! Quinn uses recycled items, tape, glue, paper, and inexpensive craft supplies in their home makerspace. 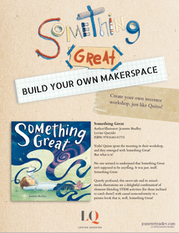 Download this free guide to building your own makerspace. It is designed for kids to work semi-independently on finding and setting up their equipment, and includes maker challenges for home or school. Get creative! 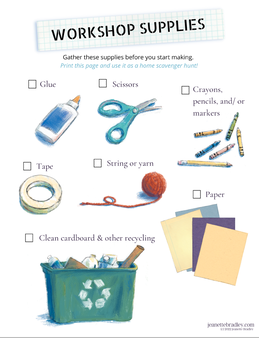 I have two videos to share with you about drawing portraits! Both of these tie in with the portraits I drew of the young activists in NO VOICE TOO SMALL. Watch my mini art class on visual storytelling in portraits, recommended for grades 3-8, This video is seven minutes long, and delves into a little bit of portraits in art history before introducing the #MeetTheArtist meme. I then walk you through how to create your own using my template or on a blank sheet of paper. This second video is recommended for grades K-2, and is only three minutes long. Younger kids can watch me draw my own #MeetTheArtist cartoon self portrait, and then make their own! Download the printable #MeetTheArtist drawing prompt page! 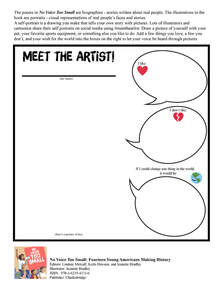  Download this free printable drawing prompt for your classroom or home use! 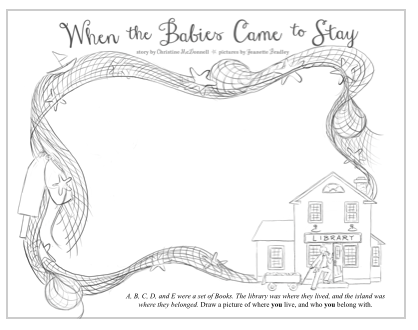 This is easily adaptable for the youngest of toddlers (think handprints!) through grade schoolers.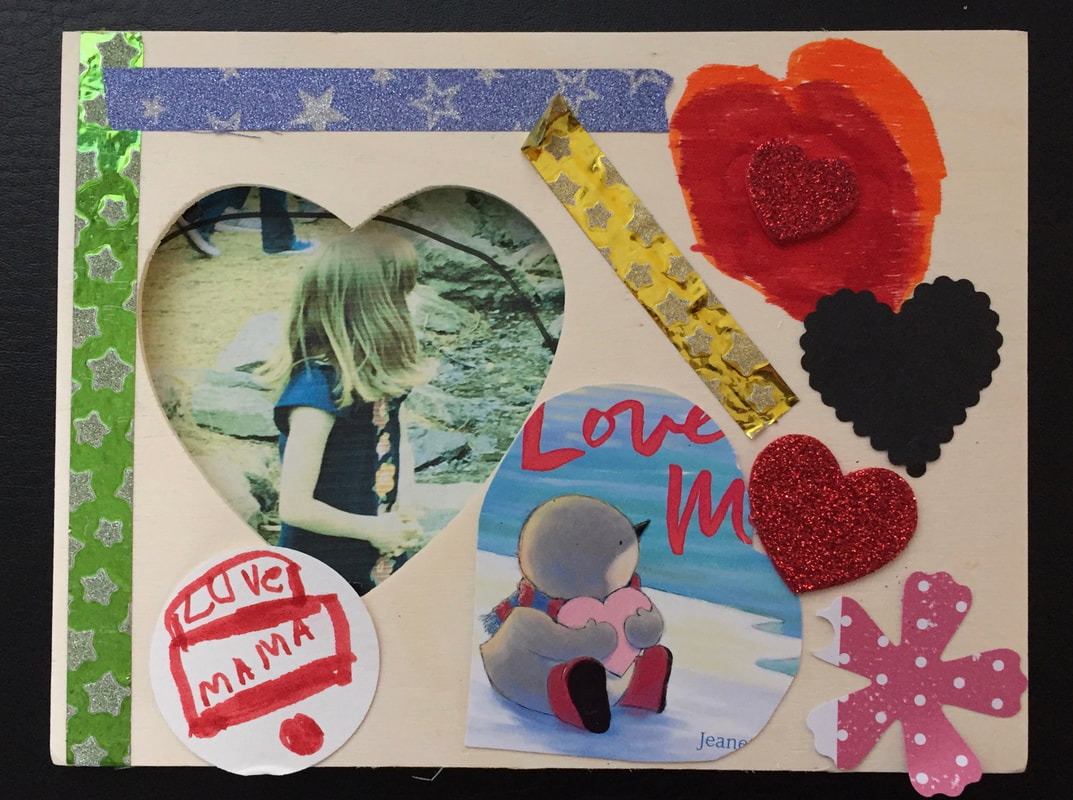 LOVE, MAMA inspired photo frame (v. 1)1. Purchase unfinished wood heart frame from craft store. (About $1 each) |
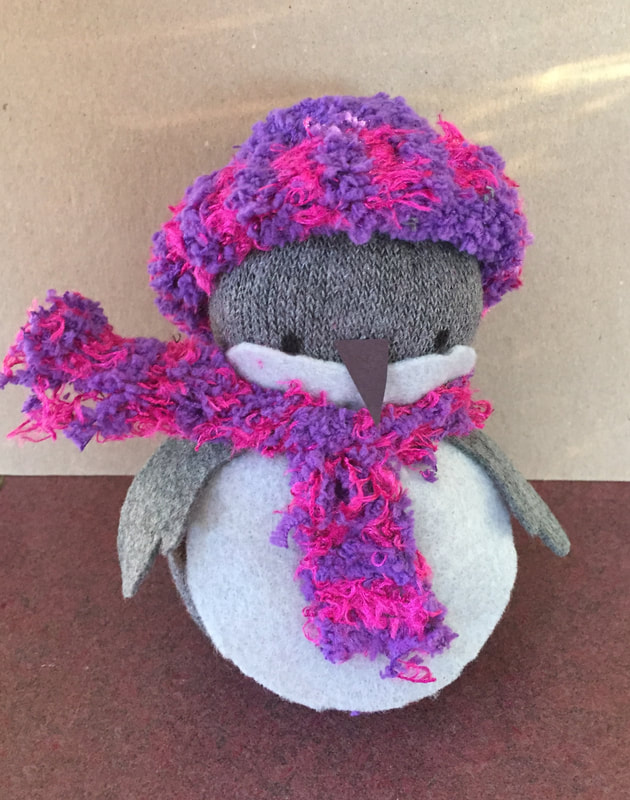
AuthorJeanette Bradley loves penguins, art, and chocolate, though not all at once. Categories
All
|


 RSS Feed